Trending

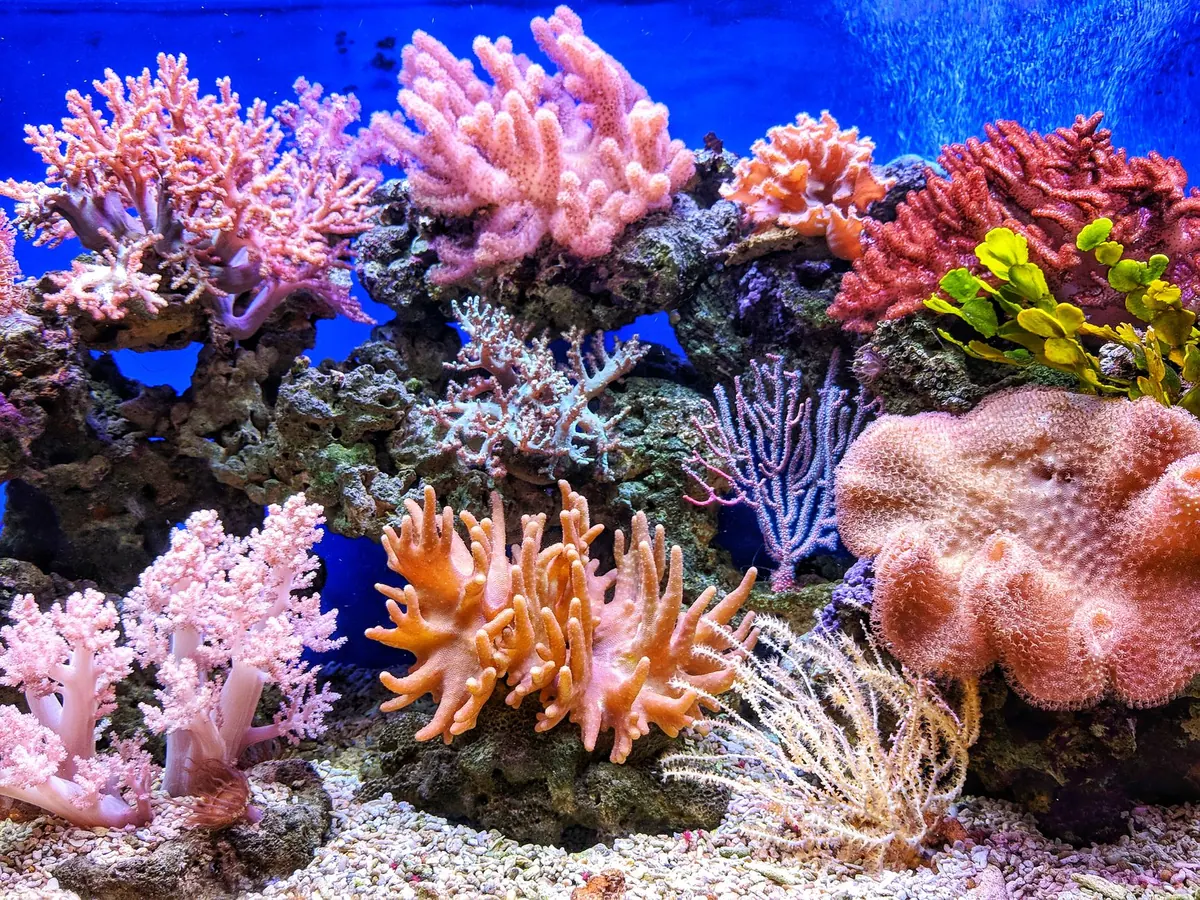
Blue LEDs do something no other aquarium light does. Under a royal-blue channel, the green mouths of a favia glow, a chalice throws orange across the sand, and a torch coral looks almost lit from inside. Then you take the picture and get a dim blue rectangle with a faint shape in the middle. The camera is not broken. It is simply balancing for the wrong light, and a few deliberate decisions will fix it.
Most disappointing coral photos are not exposure problems, they are reflection problems. Blue light scatters, so any smudge on the inside of the front pane becomes a soft haze over the whole frame. Clean the inner glass with a sponge on a long handle, then the outer glass with a microfibre cloth. Turn off the room lights, close the curtains, and wear something dark — a pale shirt will show up as a ghost in the glass.
If your fixture allows it, running blue with a small amount of white or violet gives the camera more to work with. For true fluorescence shots, blue-only is the point, and you should expect to work harder in editing afterwards.
Turn off the flow pumps before you shoot. Corals close up if flow stops for long, so keep it to a minute or two at most rather than switching everything off for half an hour. A still water surface also means no ripples distorting the view from above.
Shoot in RAW if your camera allows it. A JPEG has already made decisions about colour that you cannot undo, and blue-lit scenes need every bit of latitude you can get. Set the camera to manual mode, focus manually, and work through the following.
Use continuous autofocus, burst mode, and pre-focus on a spot where the fish keeps returning — in front of its favourite cave, say. Fire when it arrives. Twenty frames of a wrasse usually produce two usable ones.
The camera sees a tank lit almost entirely by deep blue and concludes the light is about 3,000K, so it warms everything up to compensate for an orange cast that is not there. The result is muddy blue-green. You need to tell it the truth.
The most reliable fix is a custom white balance taken from a grey card held inside the tank under the LEDs, filling the frame, with the camera set to the same lighting you will use for the shot. A white plastic lid works as an approximation, though white plastic is not always neutral.
If your camera only offers a Kelvin setting, try 8,000K to 10,000K as a starting point. A high Kelvin figure tells the camera the light is very blue, so it adds warmth back. Screw an orange or amber filter over the lens and you can often drop that setting by a couple of thousand Kelvin, which reduces the strain on the blue channel.
If the sand bed looks blue in your photo, the white balance is still wrong. Fix that before you touch anything else.
Do not chase total neutrality. A completely corrected tank shot can look flat and yellow. A hint of blue is what a reef actually looks like in the evening, and it reads as natural.
Modern phones are decent at this, but the automatic pipeline fights you. First, use a camera app that offers RAW capture and manual white balance. Second, tap and hold on the coral to lock focus and exposure, then drag the exposure slider down a touch — phones routinely overexpose glowing tissue. Third, slide a cheap orange filter over the lens, or hold a gel in front of it. That single piece of plastic does more for phone coral photos than any app.
Never use digital zoom. Move closer to the glass instead.
Work in this sequence and you will avoid the usual trap of pushing sliders back and forth until the coral looks radioactive.
Put the camera on a tripod, use a two-second timer or a remote release, and shoot square to the glass rather than at an angle. A rubber lens hood pressed flat against the pane kills most reflections; a black cloth over your head and the camera does the same job.
For macro work, use live view and magnify the focus point on the coral's edge or on a polyp mouth. Depth of field is measured in millimetres at close range, so decide which part of the colony matters most and focus there.
If you want a top-down shot, a cheap acrylic view box floated on the surface is far easier than shooting at an angle through the front pane. It also removes the surface reflections that ruin most overhead attempts.
Clean the glass, kill the room lights, stop the pumps for a minute, set a custom white balance or 9,000K, shoot RAW at f/11 with the camera on a tripod, then edit in the order above. Pick one coral and photograph it every week under the same settings. Watching the same colony improve from a blue smudge to a crisp, glowing portrait teaches you more than a hundred random shots ever will.